How To Enable Leech Protection In cPanel?
In this article we will discuss about Leech Protection and how to enable leech protection in cPanel.
What Is Leech Protection?
When users publicly post their username and password, unauthorized visitors can use those credentials to access secure areas of your website which compromises your website security. This is known as Leeching.
How Leech Protection works?
In WHM/cPanel, there is a feature called Leech Protection. In Leech protection, you can limit the number of times a user can access a secure area of your website within two hours. After you set the maximum number of logins within two hours, the system redirects or suspends the user once the limit is exceeded. This is also useful when someone is trying to log in to restricted areas of your website by guessing combinations of usernames and passwords.
Steps to Enable Leech Protection in cPanel
- Login to your cPanel account.
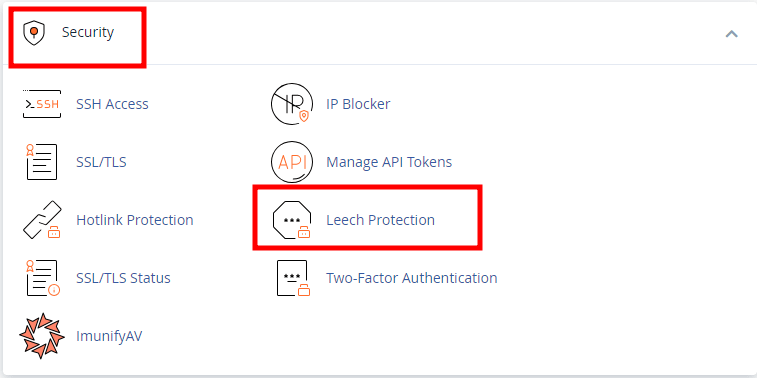
- Under the Security section, select the Leech Protection option.
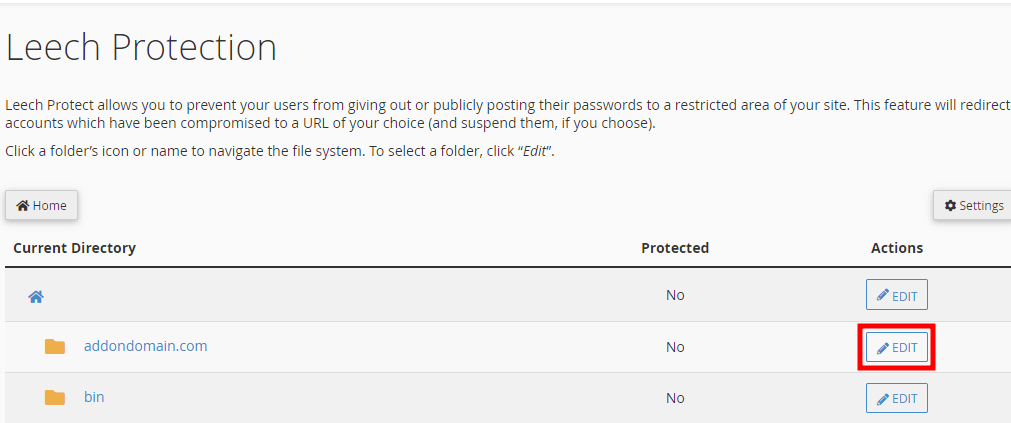
- On the new page, you will get a list of directories and the current status of Leech Protection. Click on EDIT against the folder you want to enable protection.
- On the new page, Under Set up Leech Protection, enter the number of logins allowed per username in two hours.
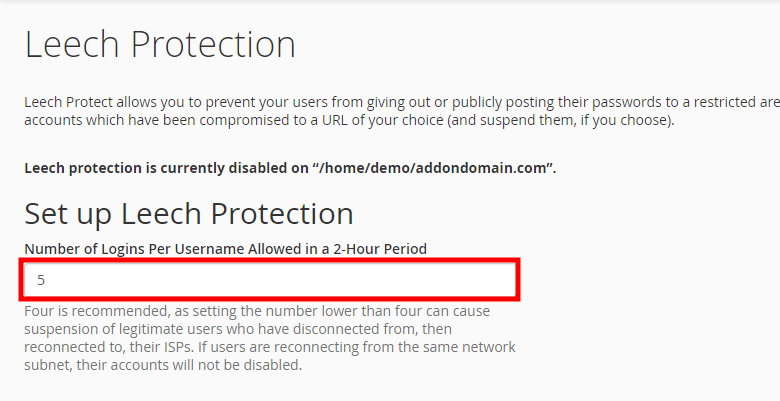
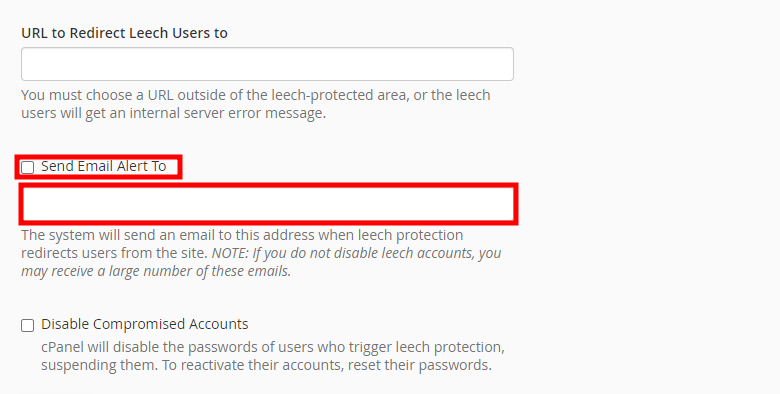
Note: If the users are reconnecting from the same network subnet, their accounts will not be disabled. - In the next box, enter the URL to redirect users who exceeded the maximum number of logins within two hours.
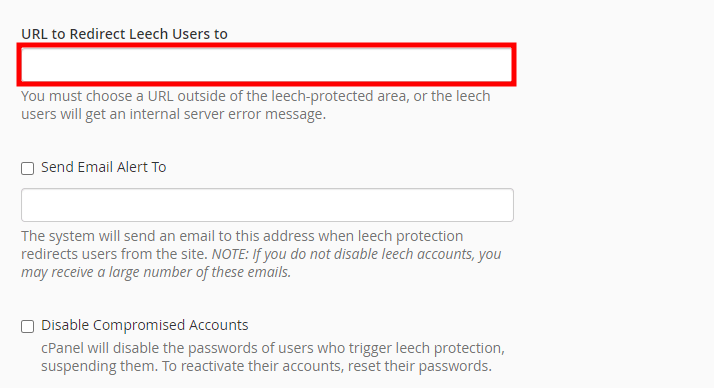
- To receive an email alert when an account is compromised, select the Send Email Alert To option and enter the email address in the text field.
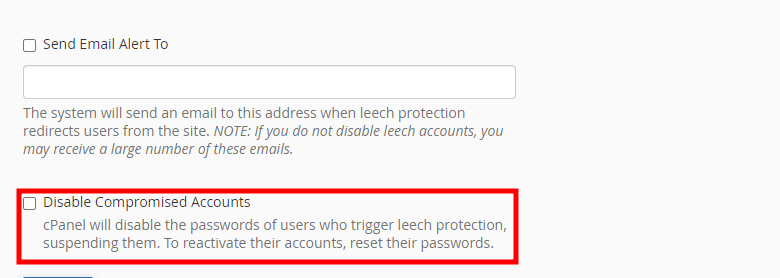
- To suspend or disable compromised accounts, check the Disable Compromised Accounts option.
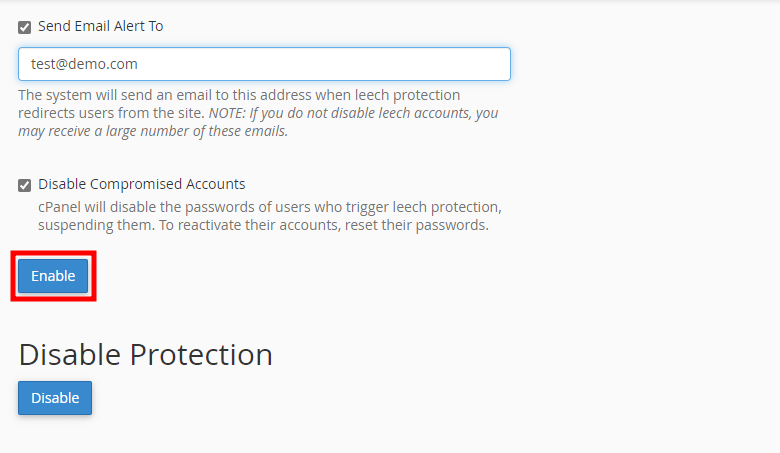
- Click on Enable at the end of the page to activate Leech Protection.
- Once the protection is enabled, you will receive a success message with all fields set.
Thats It! Your directories are now protected.
If you enjoyed this tutorial, then you would love our support! All Kemuhost hosting plans include 24/7 support from our amazing support team. Check out our web hosting plans and have your website migrated for free today!
How To Use SFTP To Connect A cPanel Account?

How To Set Custom PHP Version For Different Directory?

How To Modify The Maximum Number Of POP3 Connections In WHM Panel?
About Author
KemuHost Team
We are a team of Web Hosting Experts with decades of experience in Server Management and Web Hosting fields. We do perform thorough research on the web hosting trends and provide the best information to our users.